
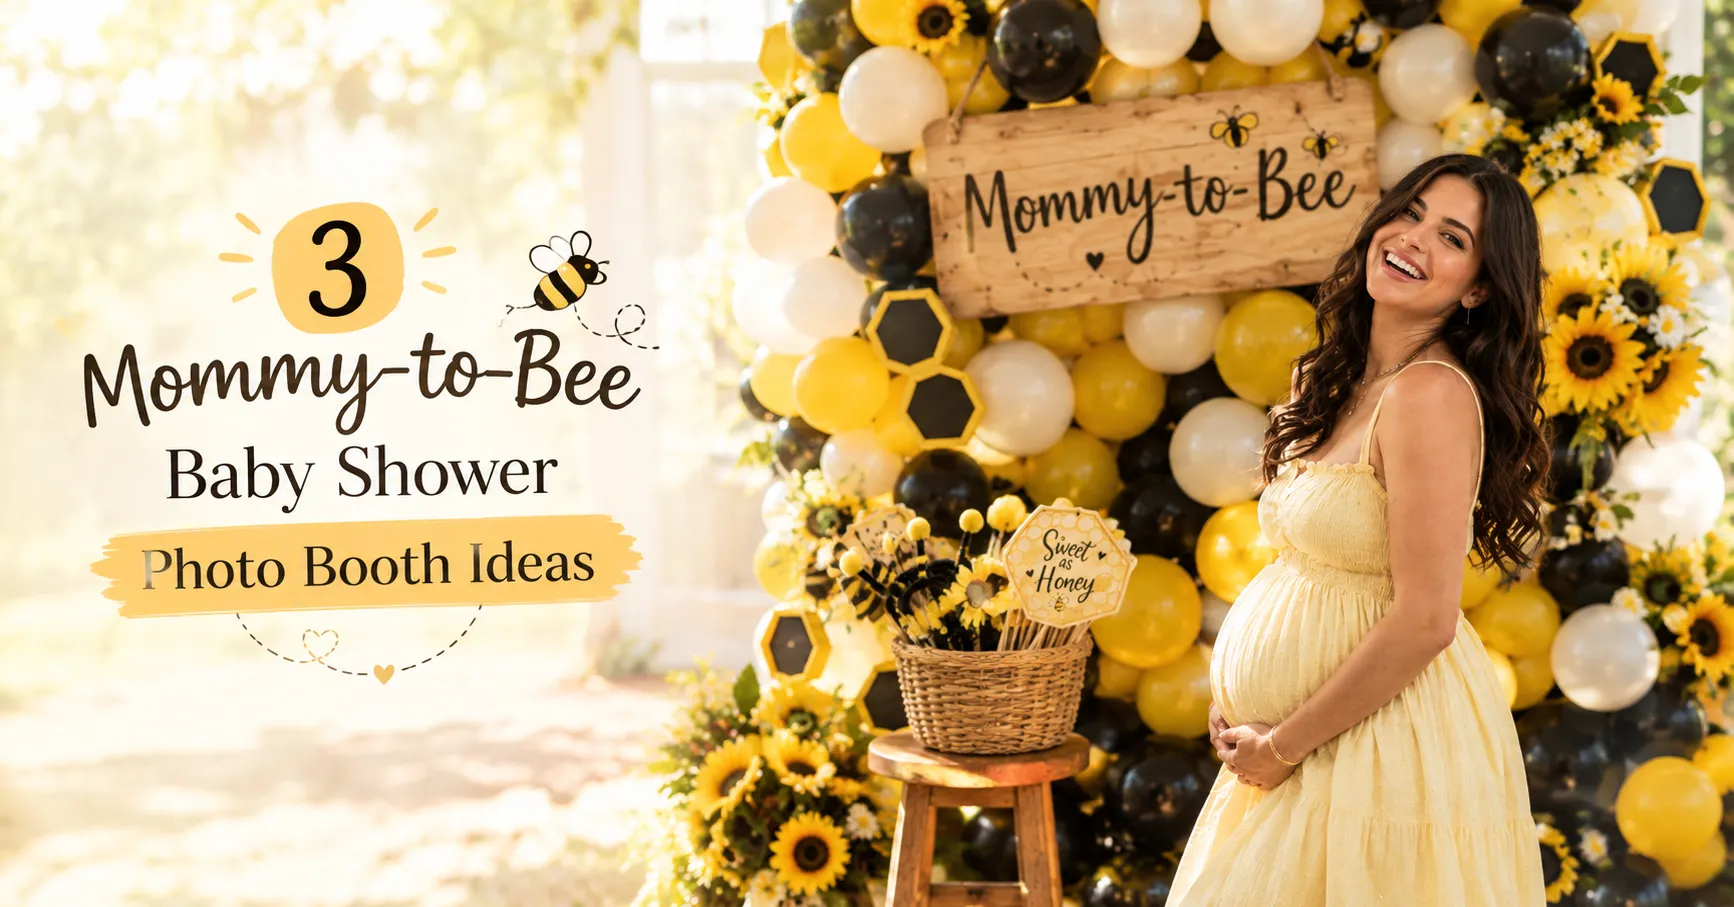
A mommy-to-bee baby shower theme brings warm yellow, black, and white tones into every corner of the party, and the photo booth is where that theme really shines. These 3 mommy-to-bee baby shower photo booth ideas give your guests a fun spot to take pictures while capturing memories the mom-to-be will keep for years. I've set up bee-themed photo corners at more than a few showers, and each of these three ideas works whether you have a small living room corner or a full backyard wall. You don't need a professional photographer or rented equipment to pull any of them off.
Why a Photo Booth Matters at a Bee-Themed Shower
Before jumping into the three setups, it helps to know why a photo booth earns its spot on your planning list in the first place. Guests spend more time at a photo booth than almost any other party station, since taking pictures gives people something to do between conversations.
A photo booth also gives the mom-to-be a keepsake she can look back on later. Printed photos or a shared album from the party often become one of the few physical reminders of the day, especially once the balloons come down and the cake is gone.
What makes a bee-theme photo booth work well:
- A clear color scheme (yellow, black, white, and touches of green)
- At least one backdrop guests can stand in front of
- Props that guests can pick up and use right away
- Good lighting, since most photos happen in the afternoon or evening
With that groundwork set, here are the three photo booth ideas that bring the mommy-to-bee theme to life.
1. Honeycomb Balloon Backdrop Photo Booth
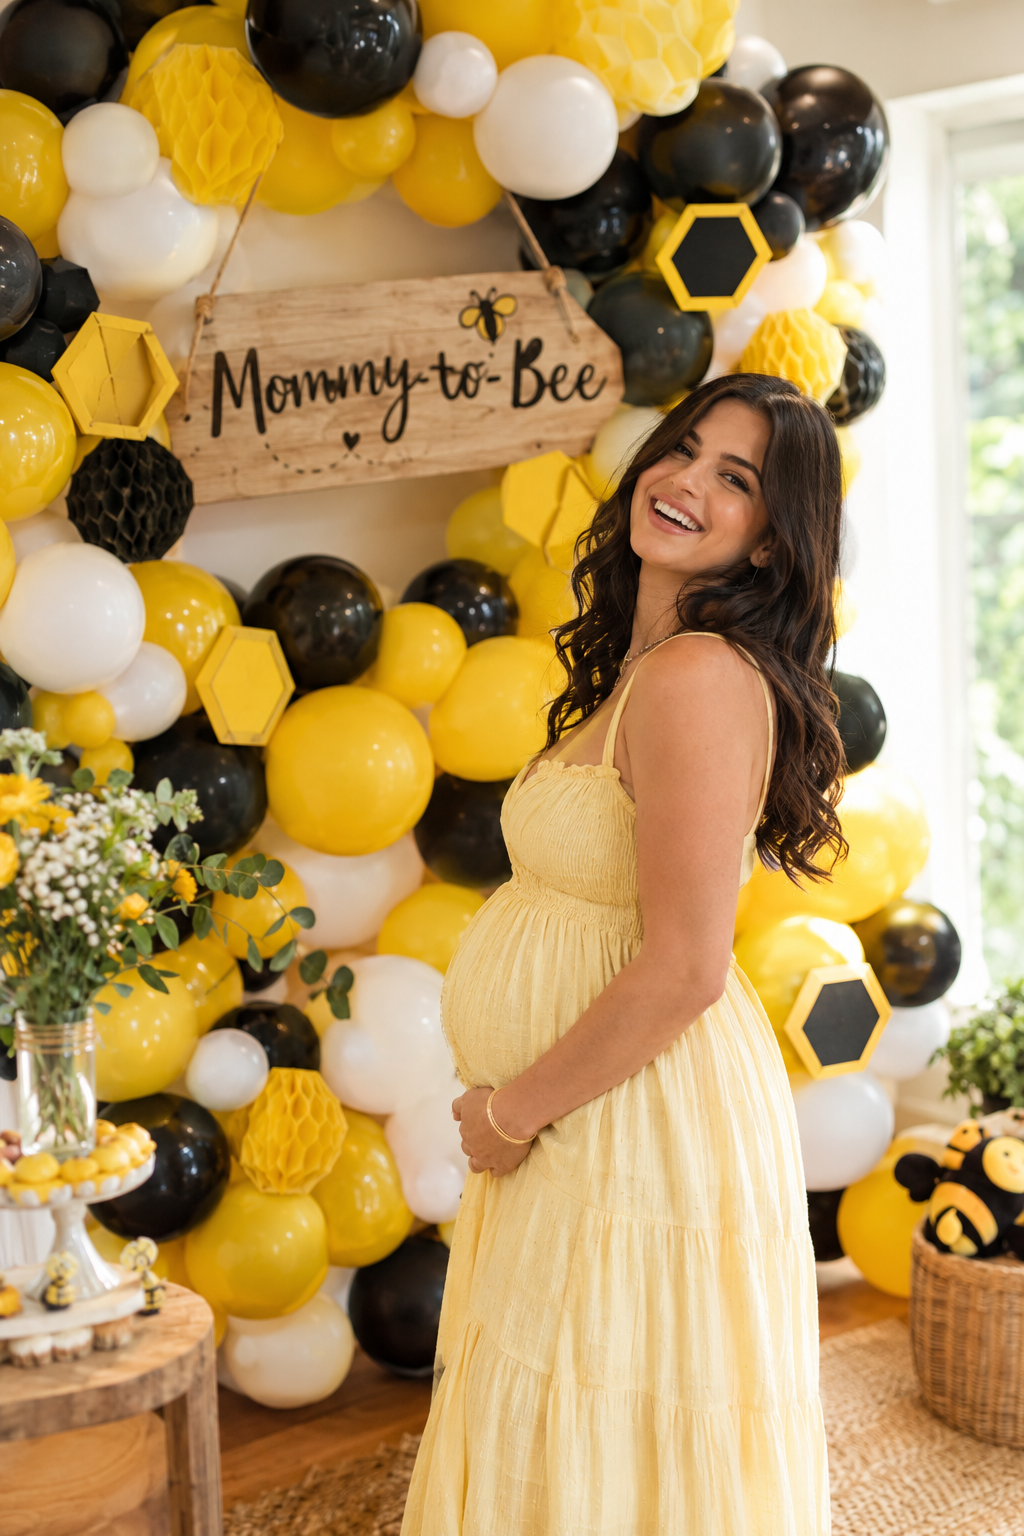
A honeycomb balloon backdrop is the boldest of the three ideas, and it works best as the main photo spot in the room. The hexagon honeycomb pattern is instantly recognizable, so guests know exactly what theme they're celebrating the moment they see it.
What you'll need:
- 100 to 130 latex balloons in yellow, white, and black
- A balloon arch strip or garland tape
- Yellow and black hexagon paper honeycomb decorations, 8 to 12 pieces
- A hand pump
- Command hooks or a freestanding frame
- A "Mommy-to-Bee" sign or banner
Step-by-step setup:
- Inflate balloons in mixed sizes, keeping yellow as roughly 60 percent of your mix.
- Attach the garland strip to your wall or frame using command hooks.
- Build the base row first, attaching balloons in clusters of 3 to 5.
- Add black balloons in small groups to mimic honeycomb spacing, rather than spreading them evenly.
- Hang paper honeycomb decorations in the gaps between balloon clusters.
- Center the "Mommy-to-Bee" sign at eye level, so it shows up clearly in every photo.
| Backdrop Size | Balloons Needed | Build Time |
|---|---|---|
| Small (4x6 ft) | 70-90 | 40-50 minutes |
| Medium (6x8 ft) | 100-130 | 60-75 minutes |
| Large (8x10 ft) | 150-180 | 90-110 minutes |
A medium backdrop fits most home baby showers well, since it's large enough to hold 2 to 3 people in frame without crowding. Build this the day before your party if you can, since latex balloons hold their shape for about 12 to 24 hours indoors.
2. Bee-utiful Props Station
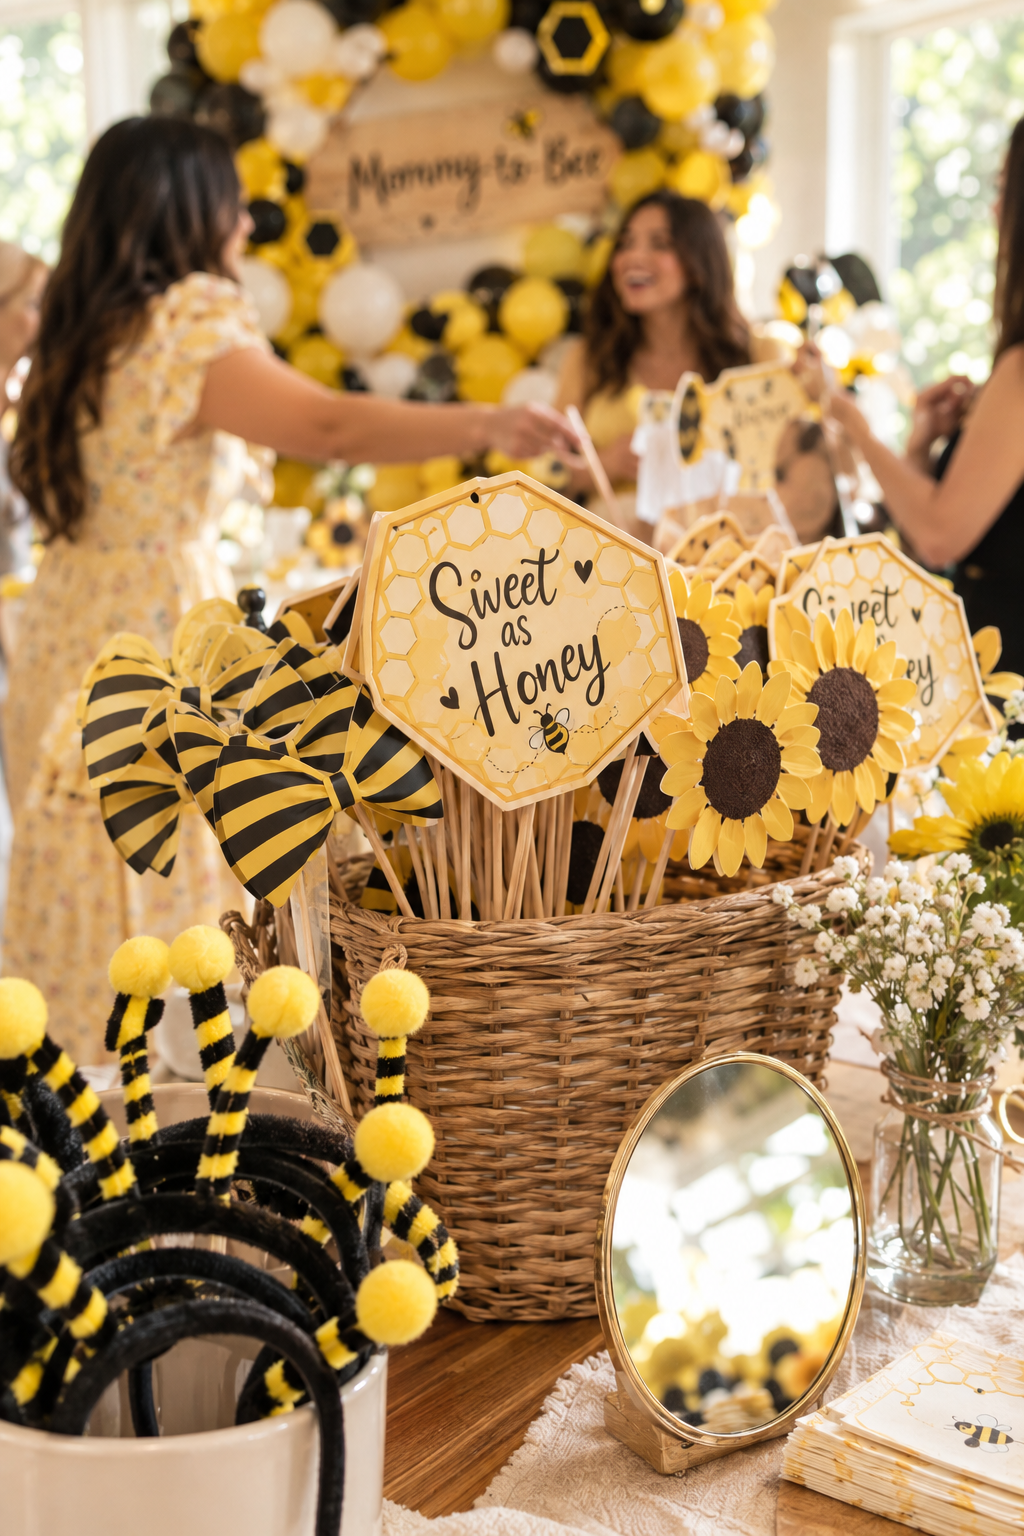
Props turn a plain backdrop into an active photo booth where guests actually stop and play around. This idea works as a stand-alone table next to your backdrop, or on its own if you're short on wall space.
Prop ideas to include:
- Bee antenna headbands, one per guest
- Yellow and black striped bow ties on sticks
- "Mommy-to-Bee" sash for the guest of honor
- Sunflower-shaped photo props on wooden dowels
- Honeycomb-shaped speech bubble signs with phrases like "Sweet as Honey" and "Bee Mine"
How to set up the props table:
- Sort props into a small basket or box near the backdrop.
- Group similar props together, so guests can grab a matching set quickly.
- Add a small mirror nearby, so guests can check headbands and antennas before stepping into photos.
- Refill the basket halfway through the party, since props tend to scatter once guests start playing with them.
A props station this size usually costs less than $30 to put together, since most pieces come from a craft store or can be made at home with cardstock and wooden sticks. Guests spend 3 to 5 minutes at a props table on average, which is enough time for several photo rounds without creating a backup at the booth.
Making Your Own Props at Home
If you want to skip buying pre-made props, cardstock works well for almost every piece on this list. Cut bee wings, antennas, and honeycomb shapes from yellow and black cardstock, then glue each shape to a wooden dowel or paint stick. This approach costs less than $10 in most cases and takes about an hour to prep the night before the party.
3. Sunflower and Bee Frame Photo Booth
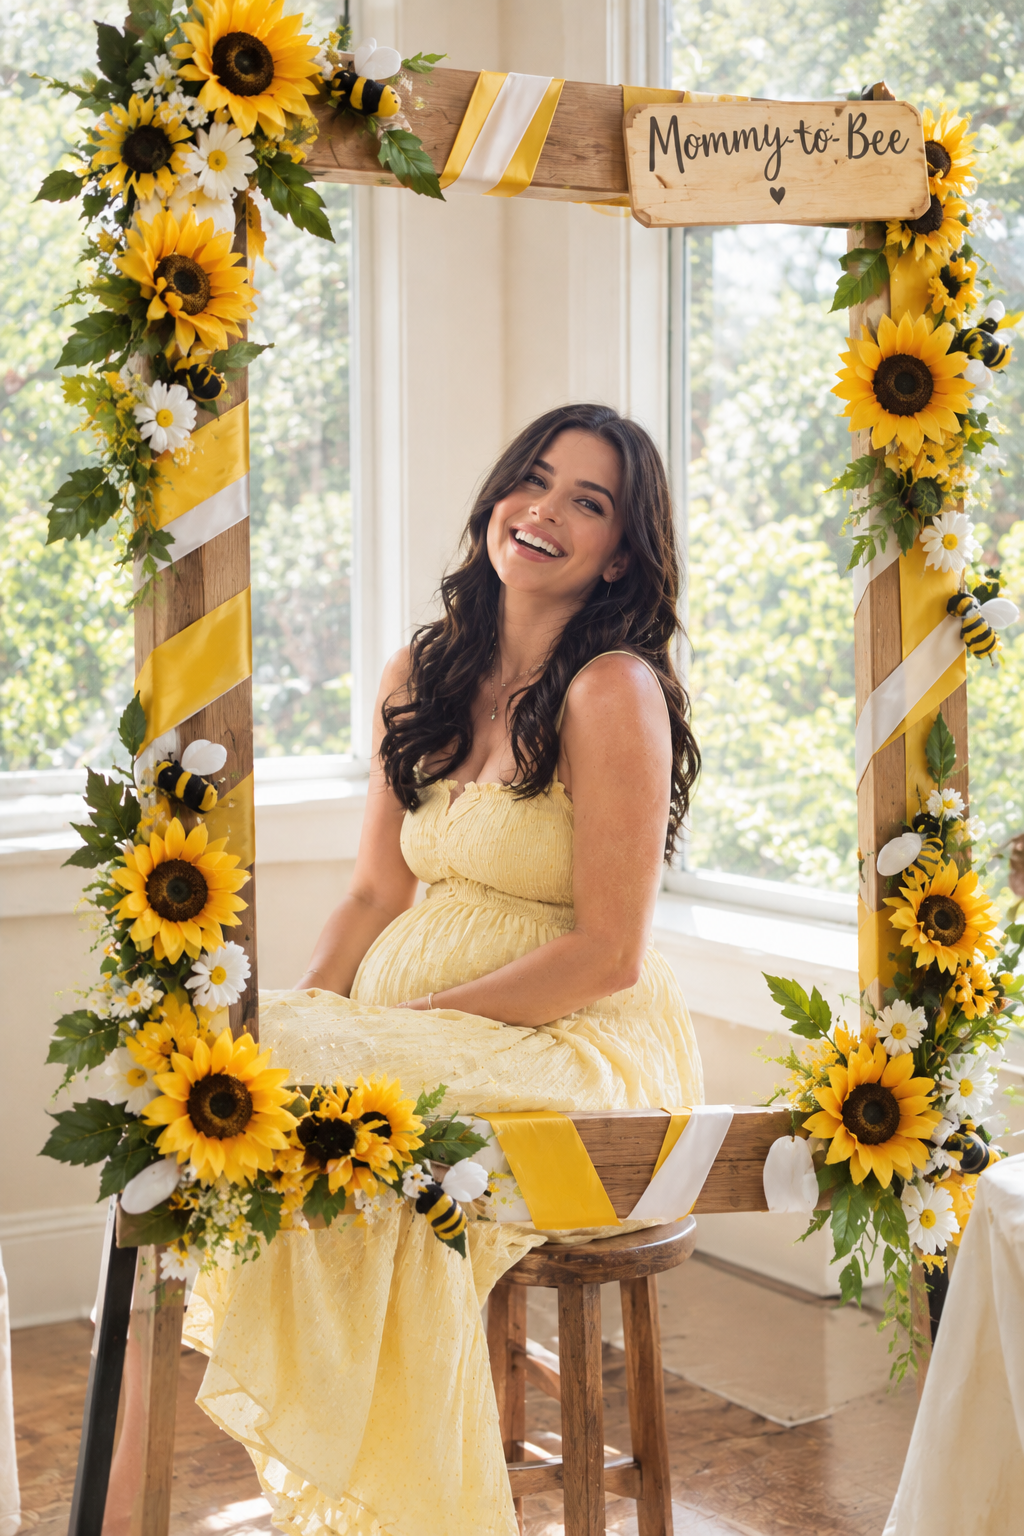
A frame photo booth gives guests a simple, single spot to pose in without needing a full backdrop wall. This idea works especially well in smaller spaces, since the frame itself takes up very little room.
What you'll need:
- A large wooden or foam board frame, roughly 3 feet by 4 feet
- 15 to 20 artificial sunflowers
- Small artificial bees on wire stems, 8 to 10 pieces
- Yellow and white ribbon for wrapping the frame edges
- A stand or easel to hold the frame upright
Building the frame:
- Wrap the frame edges in yellow and white ribbon, overlapping slightly as you go.
- Attach sunflowers around the frame's outer edge, spacing them 4 to 6 inches apart.
- Tuck bee stems between the sunflowers at random points, rather than placing them in a straight line.
- Set the frame on a stand or lean it against a wall at a slight angle.
- Place a small stool or chair in front for guests who want a seated photo.
This frame setup takes about 45 minutes to build and works well as a second photo spot if you're already using the honeycomb backdrop as your main one. Many hosts place this frame near the dessert table, since guests naturally gather there and the sunflower colors match the honeycomb backdrop without repeating it exactly.
Comparing the 3 Photo Booth Ideas
Each of these three setups works on its own, but they also serve different purposes depending on your space and guest count.
| Photo Booth Idea | Best For | Setup Time | Space Needed |
|---|---|---|---|
| Honeycomb Balloon Backdrop | Main photo spot, larger groups | 60-75 min | Full wall or 6x8 ft area |
| Bee-utiful Props Station | Active, playful photos | 20-30 min | Small table |
| Sunflower and Bee Frame | Small spaces, second photo spot | 45 min | 3x4 ft standing area |
If you only have room or time for one idea, the honeycomb backdrop gives you the most visual impact per hour of setup work. If you're short on wall space, the sunflower and bee frame delivers a similar bee-theme feel in a much smaller footprint.
Quick Tips for a Mommy-to-Bee Photo Booth
- Set up the booth near a window or light source, since natural light photographs better than most indoor bulbs.
- Keep props within arm's reach of the backdrop, so guests don't wander off between shots.
- Print a small sign with a hashtag, so guests can tag their photos and share them later.
- Test your phone or camera angle before guests arrive, to make sure the whole backdrop fits in frame.
- Assign one guest to snap photos during peak party time, so the mom-to-be isn't stuck holding the camera.
Final Thoughts
These 3 mommy-to-bee baby shower photo booth ideas each bring something different to the party, from the bold honeycomb backdrop to the playful props table to the smaller sunflower and bee frame. Pick one as your main spot, then add a second if your space allows it. However you build it, a photo booth like this turns a quiet corner of the room into one of the most visited spots at the shower, and it gives the mom-to-be photos she'll actually want to keep.